Multi-Streaming with Windows, built on the WSL for FREE


Getting Started
To accomplish this mission you'll need to install the WSL (Windows Subsystem for Linux). I will not be covering the install process here, it is well documented by Microsoft, and is really a matter of running basically 3 commands.
note for WSL version 2 (recommended) you must install the GNU/Linux kernel component.
Installing a GNU/Linux image
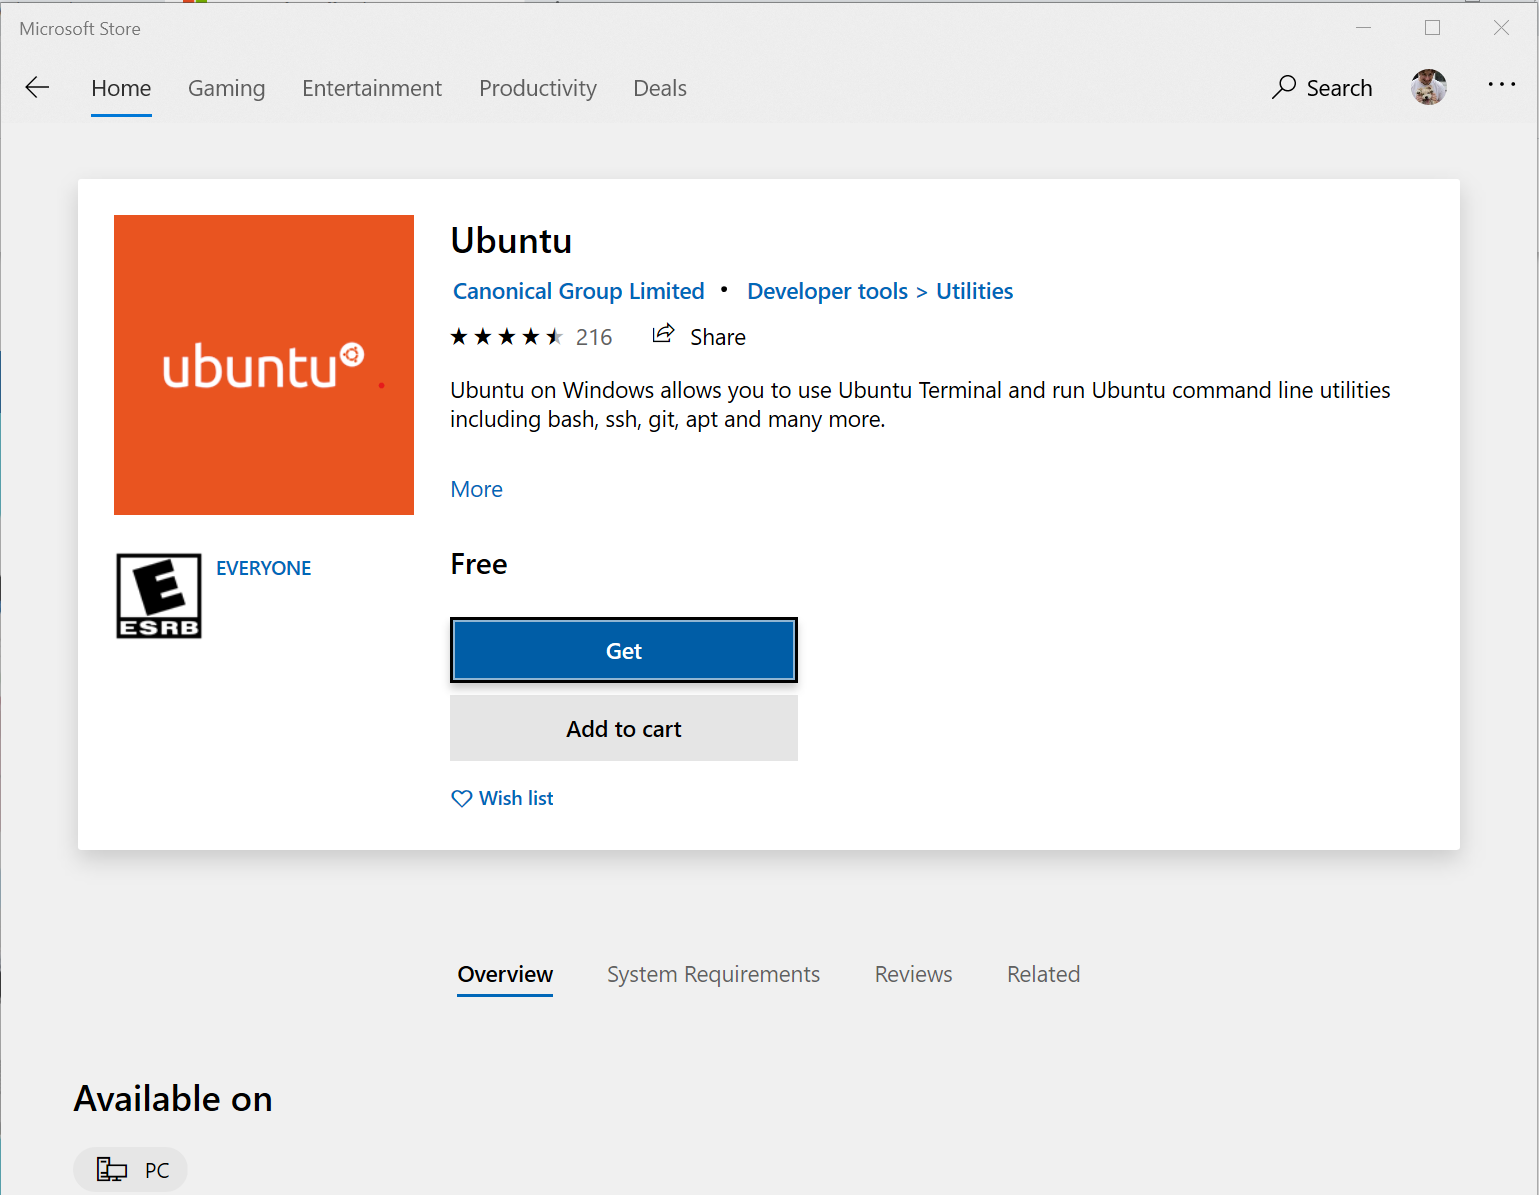
Pull an image from the Windows store, in my case I used the latest ubuntu sadly centos wasn't an option.
Upon installation you will be asked to define a user, and set a password for that user. It is important to note that the user and password defined here are NOT the Windows user you're currently logged in with.
Getting Started
Start the WSL, this can be done by double clicking the icon for the GNU/Linux image you installed from the Start menu, or by running a Powershell or CMD session.
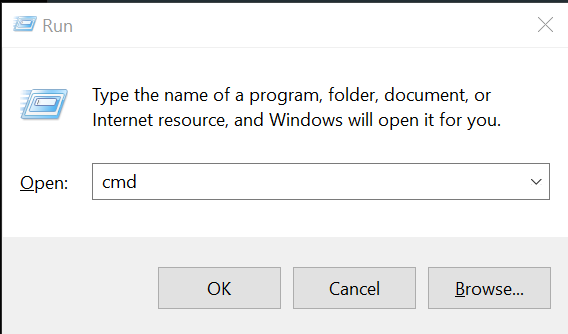
You can bring up the run dialog box by pressing <SUPER>-R, once open you can type "cmd" in the text box, then press "OK".
Now that the windows command prompt is running, type the command bash. This command will drop you into the GNU/Linux shell.
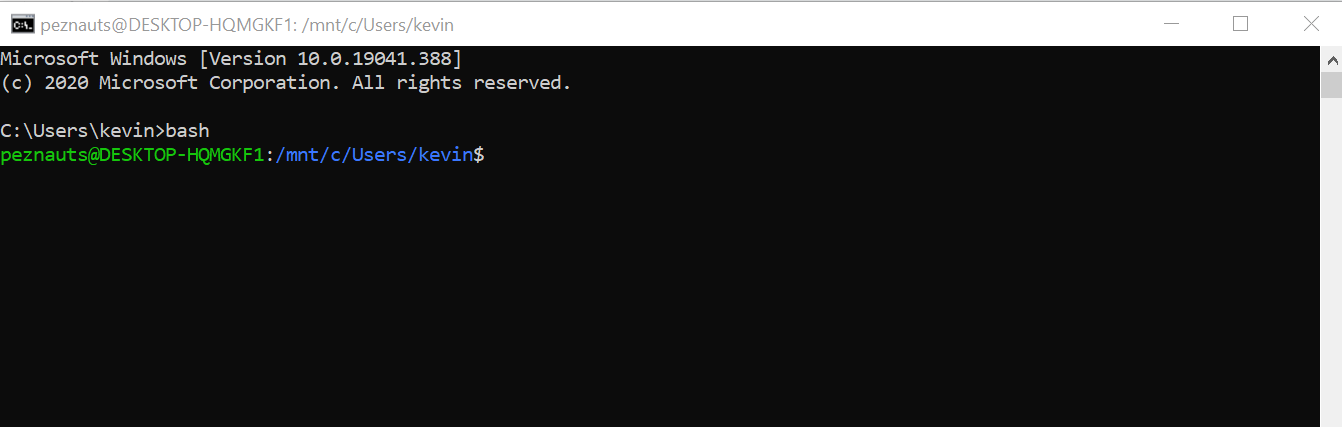
bashOnce you're in the GNU/Linux shell, run the following commands (assuming you've installed the ubuntu image as I have).
sudo apt update
sudo apt install libnginx-mod-rtmp nginx-full stunnel4
Setup NGINX
Setting up NGINX is easy. Once installed (which was done in the previous command), simply edit the /etc/nginx/nginx.conf file and add the following config to the file. Editing the /etc/nginx/nginx.conf can be done in a lot of ways, built in methods include the use of vi and nano.
rtmp_auto_push on;
rtmp_auto_push_reconnect 2s;
rtmp_socket_dir /var/sock;
rtmp {

        server {
                allow publish 127.0.0.1;
                deny publish all;
                allow play 127.0.0.1;
                deny play all;

                listen 1935;
                chunk_size 4096;

                application facebook {
                        live on;
                        record off;
                        meta copy;
                        push rtmp://127.0.0.1:19350/rtmp/{facebook_stream_key};
                }

                application youtube {
                        live on;
                        record off;
                        meta copy;
                        push rtmp://127.0.0.1:19351/live2/{youtube_stream_key};
                }

                application twitch {
                        live on;
                        record off;
                        meta copy;
                        push rtmp://hou.contribute.live-video.net/app/{twitch_stream_key};
                }

                application alllive {
                        live on;
                        record off;
                        meta copy;
                        push rtmp://hou.contribute.live-video.net/app/{twitch_stream_key};
                        push rtmp://127.0.0.1:19350/rtmp/{facebook_stream_key};
                        push rtmp://127.0.0.1:19351/live2/{youtube_stream_key};
                }
        }
}
To use this configuration file you will need to be sure to update the options{facebook_stream_key}and{youtube_stream_key}to match your particular values.
With the core nginx.conf file edited, test the configuration to ensure its syntactically correct. To test, run the command sudo nginx -t. This command will quick inform you if there are any errors.

Setup stunnel
In order to stream to facebook live you will need stunnel to provide a secure interface. Sadly, at the time of this writing, the rtmp module provided by NGINX doesn't support rtmps which is the "secure" version of rtmp. There is an open issue for this missing feature, which can been followed here. Until this feature is implemented, we'll rescue our mission with a little stunnel.
At this point stunnel has already been installed, so all that's needed is a simple configuration file, which needs to be created at /etc/stunnel/stunnel.conf. Just as before, the file can be edited using whatever editor you chose, common editors are vi and nano.
Add the following section and options to the file.
[fb-live]
client = yes
accept = 127.0.0.1:19350
connect = live-api-s.facebook.com:443
verifyChain = no

[yt-live]
client = yes
accept = 127.0.0.1:19351
connect = a.rtmps.youtube.com:443
verifyChain = no
Startup
To start nginx and stunnel simply execute the following commands.
sudo stunnel4  #  Yes the command is "stunnel4"
sudo nginx
If there are no issues starting these applications, there will be no output.

Auto-Start the proxy service from the Desktop
To auto start NGINX and stunnel use a simple batch file which can be easily executed from the desktop, or added to the default startup folder.
To create a batch file open a simple editor like notepad.
The simple editor notepad can be easily opened by once again pressing <SUPER>-R and typing "notepad" in the text box, then press "OK".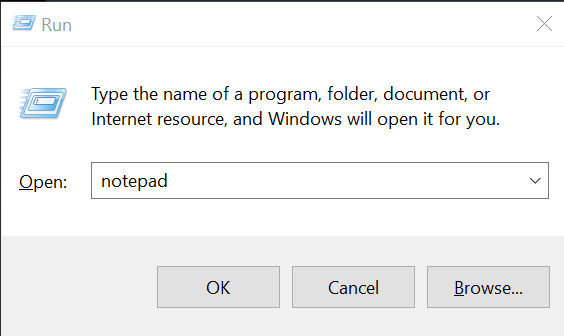
notepadWith notepad open enter the following text and save the file.
@ECHO OFF
bash -c "sudo killall stunnel4; sudo stunnel4; sudo killall nginx; sudo nginx"
When saving the file make sure the file name has .bat at the end of it, in my case the file name is startstream.bat. You will also need to make sure that the Save as type is set to "All files". If this is not set correctly the file will save as a text document and windows will refuse to execute it.
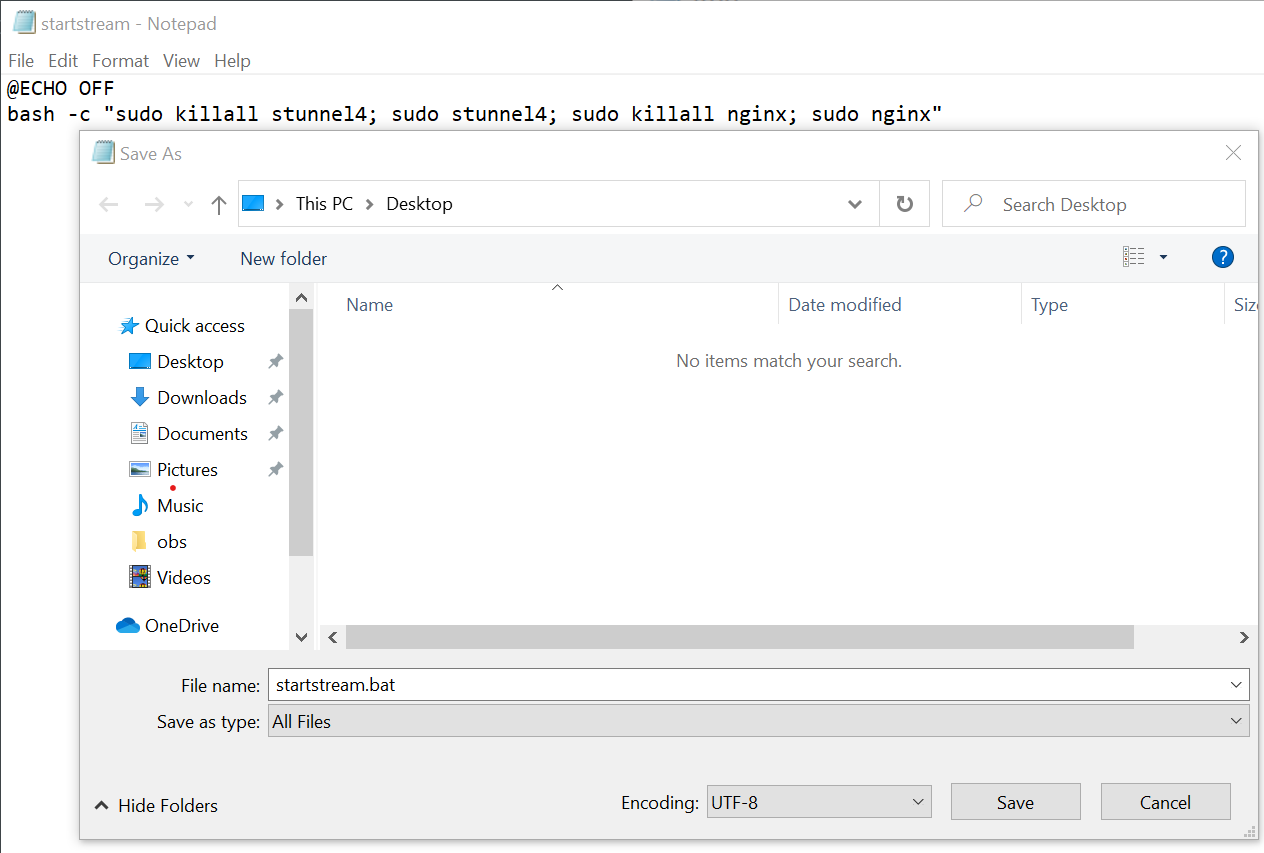
notepad save batch fileI saved the file to my desktop, which makes finding, and quickly executing it, simple.
When this batch file is executed it will prompt you for a password, this will be the password that you setup when you installed the GNU/Linux image.

Setup OBS
In the Stream section, set the Service option to custom, set Server option to rtmp://localhost:1935/alllive, and leave the Stream Key blank.
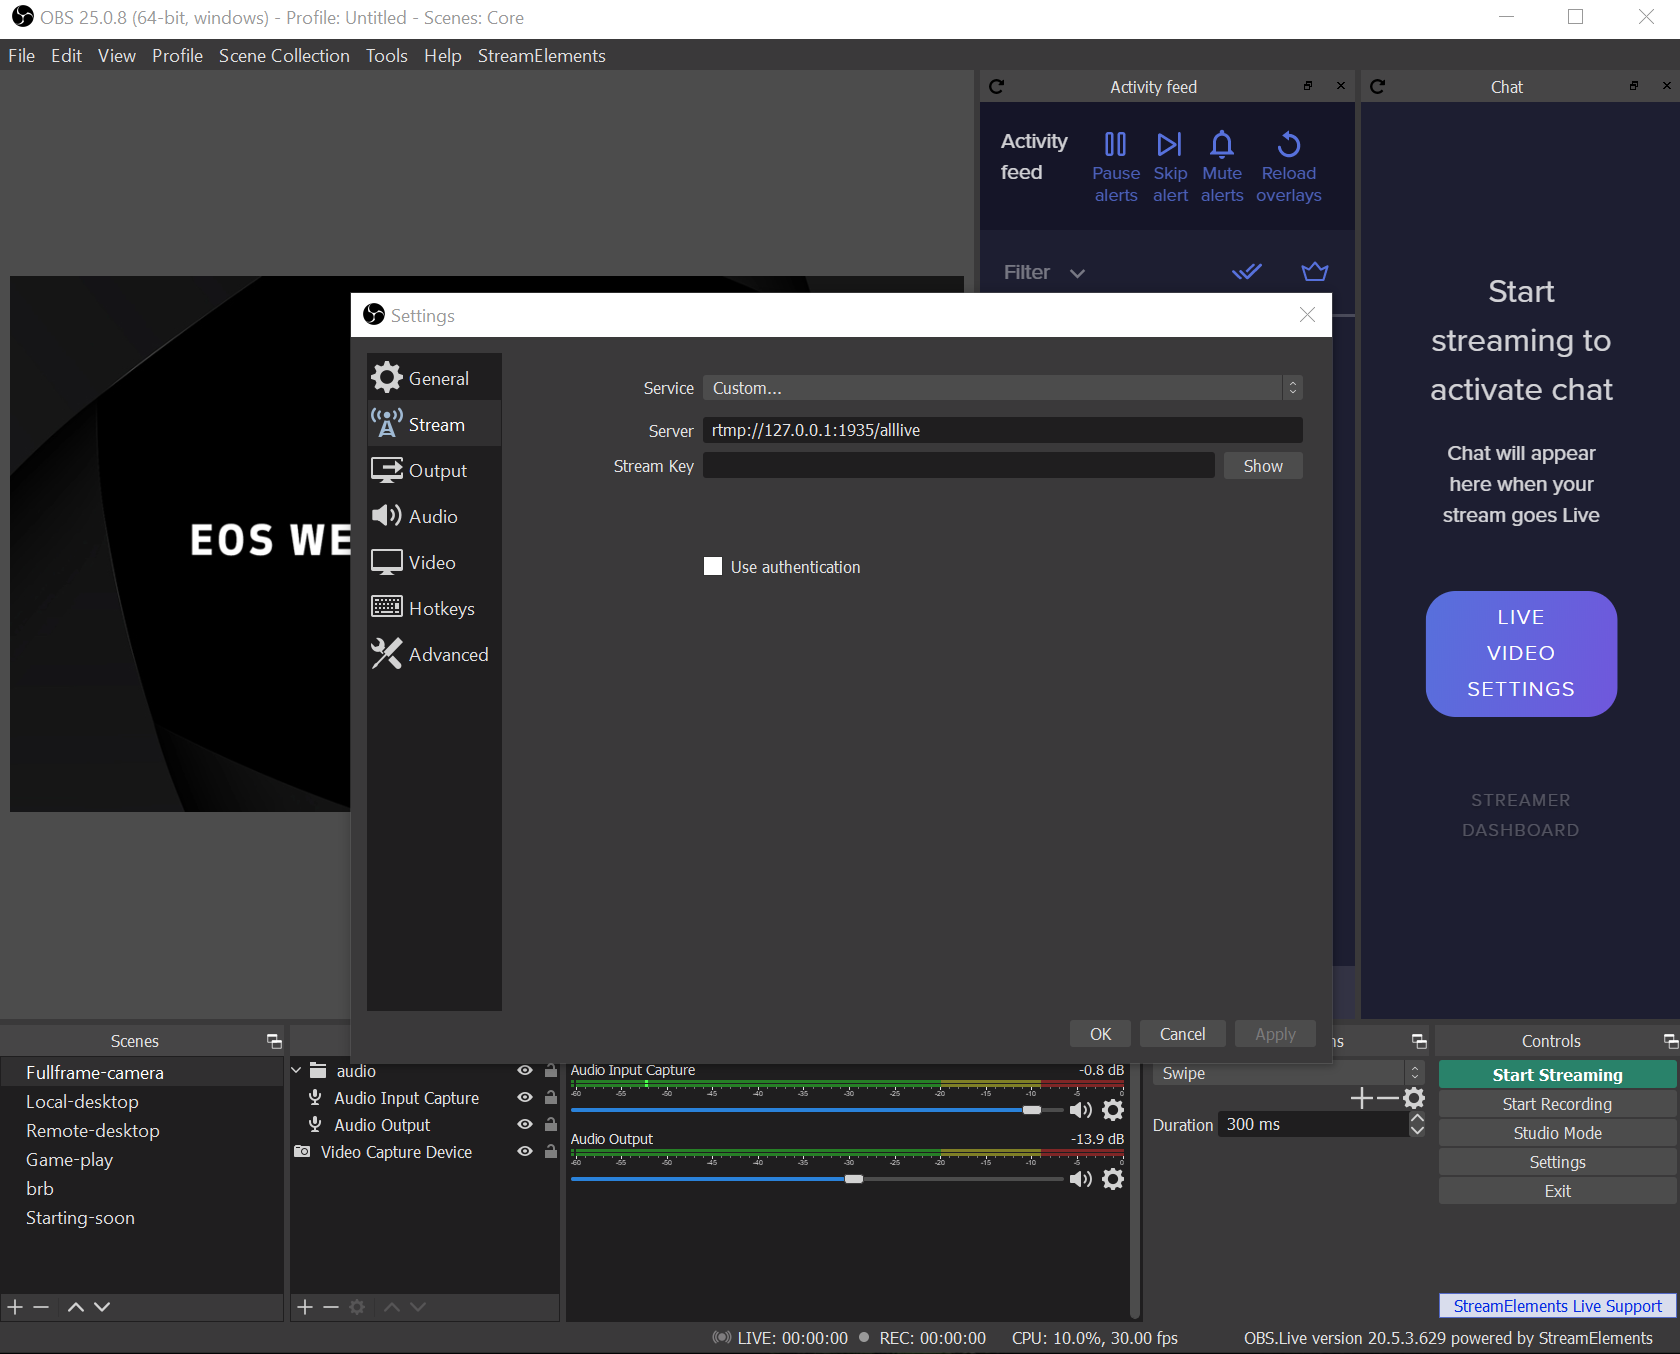
Click Apply, and you're done.
Celebrate, you're done
Now when you "Start Streaming" you'll be multi-streaming to YouTube, Facebook, and Twitch, you'll be doing it all from your one streaming machine, there will be little to no extra overhead (except the in terms of bandwidth), and it's FREE.
A couple of other features to talk about
- When streaming using the Server URL
rtmp://127.0.0.1:1935/alllivethe OBS stream will be pushed all configured destinations. - If you want to stream ONLY to facebook you can change the Server URL to
rtmp://127.0.0.1:1935/facebook. - If you want to stream ONLY to youtube you can change the Server URL to
rtmp://127.0.0.1:1935/youtube. - Additional applications can be setup in the
rtmpsection of yournignx.conf.
Advanced stream encoding
Lets say you want to multi-stream, but you don't want to multi-stream with full resolution everywhere. Maybe you don't have the network throughput, maybe you're trying to reach more folks but drive people to a single platform, whatever. Via FFMPEG you can transcode your stream and relay it to another source. In this quick section we'll cover installing FFMPEG from source, and how you can use it in your NGINX stanza to transcode your live broadcast and push wherever you want.
Given the WSL environment is setup with Stunnel and NGINX all we need to do is pull FFMPEG and install it. While you could just install the FFMPEG package, and that would work, doing so could leave your system without some excellent plugins, especially if you have an Nvidia RTX card.
The following packages are needed to build FFMPEG with the appropriate CUDA plugins; the CUDA plugins are for Nvidia GPUs.
apt isntall libavdevice58 build-essential yasm cmake libtool libc6 libc6-dev unzip wget libnuma1 libnuma-dev pkg-config
Now pull the Nvidia codec repository.
git clone https://git.videolan.org/git/ffmpeg/nv-codec-headers.gitConfigure and install the codecs.
pushd nv-codec-headers;
  sudo make install
popd
Pull the FFMPEG repository.
git clone https://git.ffmpeg.org/ffmpeg.git ffmpegEnter the repository, configure it, and install.
pushd ffmpeg
  ./configure --enable-nonfree --enable-cuda-nvcc --enable-libnpp --extra-cflags=-I/usr/local/cuda/include --extra-ldflags=-L/usr/local/cuda/lib64 --disable-static --enable-shared
  make -j 8
  sudo make install
popd
With FFMPEG installed, now you can add a transcode stanza to your NGINX configuration which will make use of the NVENC encoder on your GPU; if you don't have a Nvidia GPU this still works, though you will need to setup FFMPEG for x264 encoding.
rtmp {
        server {
                listen 1935;
                chunk_size 10240;
                live on;
                record off;
                meta copy;

                application simulcast {
                        push rtmp://hou.contribute.live-video.net/app/{twitch_stream_key};
                        push rtmp://va.pscp.tv:80/x/{twitter_stream_key};
                        push rtmp://127.0.0.1:19350/rtmp/{facebook_stream_key};
                }

                application pez {
                        push rtmp://127.0.0.1:19351/live2/{youtube_stream_key};
                        exec_push /usr/local/bin/ffmpeg -y -vsync 0 -hwaccel cuda -hwaccel_output_format cuda -i "rtmp://127.0.0.1:1935/pez" -vf "scale_npp=w=1280:h=-2" -c:a copy -c:v h264_nvenc -b:v 1M -minrate 512K -bufsize 1M -maxrate 2M -f flv "rtmp://127.0.0.1:1935/simulcast";
                }

        }
}- In the above NGINX configuration, we can see that we're live streaming to YouTube using a relay, which means the content output from the streaming software will be sent directly to YouTube as is.
- The broadcast is transcoded using a variable bitrate of
2048Kand an output of 720p which is sent to the simulcast application. - The simulcast application sends the broadcast to Twitch, Twitter, and Facebook.
- Because we have a transcoded bitrate of
2048Kand we're sending the broardcast to 3 services we'll have an egress bitrate of6144Kfor our simulcast application.
- Because we have a transcoded bitrate of
The
ffmpegcommand can also be run using the CPU, if a suitable GPU is not available.
# Running FFMPEG with CPU transcoding.
/usr/local/bin/ffmpeg -i "rtmp://127.0.0.1:1935/avanti_simulcast" \
            -s 1280x720 \
            -c:v libx264 \
            -preset veryfast \
            -profile:v high \
            -x264-params "bitrate=1024:vbv_maxrate=2048:vbv_bufsize=1024:threads=0:bframes=3:rc_lookahead=10:keyint=60:keyint_min=60:nal_hrd=cbr:scenecut=0:rc=cbr:force_cfr=1" \
            -sws_flags lanczos \
            -pix_fmt yuv420p \
            -c:a copy \
            -f flv "rtmp://127.0.0.1:1935/simulcast"
By scaling the broadcast and simulcasting we're able to provide a great viewing experience to users on YouTube and an excellent viewing experience on all other services without consuming a tun of bandwidth.
That's all folks
I hope you liked this simple post. If you use it, hit me up on twitter and let me know how it's working. Otherwise happy streaming and TTFN.