Networkd for nspawn with OpenStack-Ansible


Within this post, I will cover the systemd-networkd aspect of the PR to create a systemd-nspawn driver within OSA. This post will be working with systemd-networkd and systemd-resolved to integrate nspawn containers within the existing topology of a typical OpenStack-Ansible deployment.
Getting systemd-networkd working for you
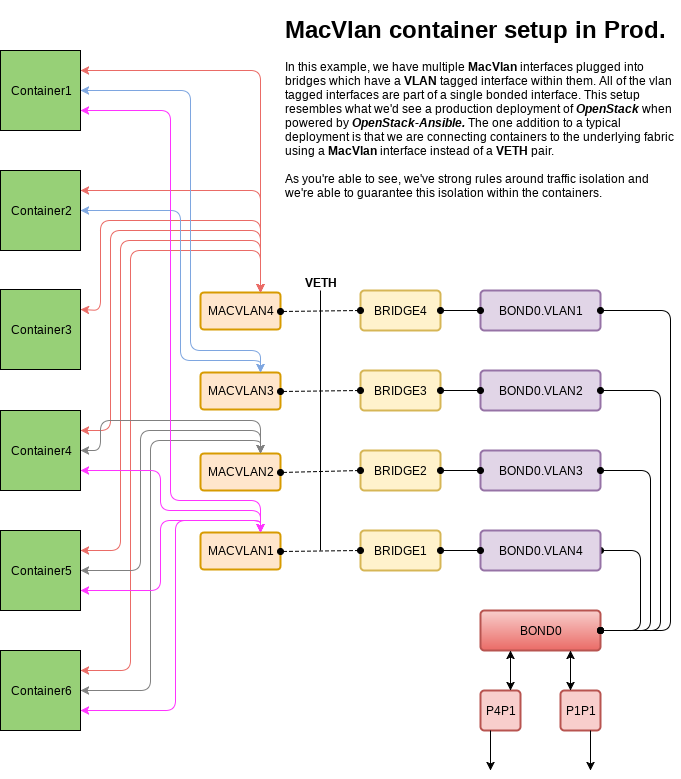
One of the container interfaces, overview covered here,
has a single MACVLAN interface which binds to all containers. This single interface (Container Bridge) allows for external communication from the containers through the gateway using IP forwarding and masquerading. This special network is bound only to this one host, setups up a locally scoped DHCP network and pushes NTP and DNS to the containers from the host. To make this possible we're going to use two additional systemd built-ins called systemd-networkd and systemd-resolved.
Setting up the resolved
The systemd-resolved setup is nothing special and, in the test case, I used nothing more than the package installed defaults. See more about the options of systemd-resolved here. To setup systemd-resolved we simply link the appropriate file to our resolve.conf, enable the service and start it.
ln -sf /run/systemd/resolve/resolv.conf /etc/resolv.conf  # Create the link
systemctl enable systemd-resolved.service  # Enable the service
systemctl start systemd-resolved.service  # Start the service
Building the Container Bridge
For the DHCP configuration we setup a simple dummy interface and a standalone bridge called br-container which will all be done using systemd-networkd.
Link configuration
The first thing we need is a link file, /etc/systemd/network/99-default.link, which will ensure all interfaces managed by systemd-networkd use a persistent mac address:
[Link]
MACAddressPolicy=persistent
Dummy Interface
Once the link file is in place, create a network device file for our dummy interface, /etc/systemd/network/00-dummy0.netdev, with the following contents:
[NetDev]
Name=dummy0
Kind=dummy
With the network device in place, we'll create a network configuration file, /etc/systemd/network/00-dummy0.network, so that the dummy0 interface is enrolled within the br-container device:
[Match]
Name=dummy0

[Network]
Bridge=br-container
Bridge Interface
Now that the dummy network device is ready, we're going create a network device file for our bridge, /etc/systemd/network/br-container.netdev, with the following contents:
[NetDev]
Name=br-container
Kind=bridge
Finally, we'll create our bridge network file, /etc/systemd/network/br-container.network, with all of our options to enable all of our needed options:
[Match]
Name=br-container

[Network]
Address=10.0.3.2/24
Gateway=10.0.3.1
IPForward=yes
IPMasquerade=yes
DHCPServer=yes

[DHCPServer]
PoolOffset=25
PoolSize=100
DefaultLeaseTimeSec=3h
EmitTimezone=yes
EmitNTP=yes
EmitDNS=yes
Load the new configs
Now that we have all of the needed files in place we can enable and start the systemd-networkd service:
systemctl enable systemd-networkd.service  # Enable the service
systemctl start systemd-networkd.service  # Start the service
Check the status of the systemd-networkd to make sure it's running:
systemctl status systemd-networkd.service # Check service status
Finally, list out all of the networks managed:
networkctl list
IDX LINK             TYPE               OPERATIONAL SETUP
  1 lo               loopback           carrier     unmanaged
  2 ens3             ether              routable    unmanaged
  3 br-container     ether              routable    configured
  4 dummy0           ether              degraded    configured
Note: the OPERATIONAL state of these interfaces will always be "degraded". This state is simply because the underlying interface at the lowest level is a dummy device. If you wanted br-container to be routable you could use an actual interface, in my case ens3, instead of the dummy device.
This simple bridge interface managed by systemd-resolved replaces a several iptables rules, a dnsmasq process with a specialized configuration limiting its scope to only the one host, and an ad-hoc interface running pre-up scripts gluing everything needed together. As you can surmise, this process can be fragile and should it get out of sync, it impacts every running container on a given host. With the new systemd-networkd capabilities we only have one process to manage in a single unified way across all supported operating systems. While this change may confuse operators initially due to the generally smaller footprint, folks will come to love this change as there's no longer any magic required to understand how this all works and recovering from failure is as simple as a service restart.
Connecting bridges to MacVlan interfaces
Now that we've setup our basic container bridge, which is capable of issuing addresses on our internal only network and routing that traffic out of our host, we're going to create a macvlan interface and wire it back into our the br-container device. To do this we're going to create a few more files.
MacVlan Interface
First create a network device file, /etc/systemd/network/mv-container.netdev for our mv-container interface:
[NetDev]
Name=mv-container
Kind=macvlan

[MACVLAN]
Mode=bridge
Then create a network file, /etc/systemd/network/mv-container.network, to ensure our mv-container is a link only network:
[Match]
Name=mv-container

[Network]
DHCP=no
MacVlan to Bridge Network Integration
Now create a veth pair file, /etc/systemd/network/mv-container-vs.netdev, which will be used to link the mv-container interface to the br-container interface:
[NetDev]
Name=mv-container-v1
Kind=veth

[Peer]
Name=mv-container-v2
Plugin the one side of the veth pair into the br-container interface by creating a network file, /etc/systemd/network/mv-container-v1.network, for this side of the veth:
[Match]
Name=mv-container-v1

[Network]
Bridge=br-container
And then Plugin the other one side of the veth pair into the mv-container interface by creating a network file, /etc/systemd/network/mv-container-v2.network, for the remaining side of the veth:
[Match]
Name=mv-container-v2

[Network]
MACVLAN=mv-container
Load the config and connect the networks
Finally, restart systemd-networkd and then list out all managed systemd-networkd interfaces again and see that the new mv-container interface is up configured:
systemctl restart systemd-networkd.service  # Restart the service
networkctl list

IDX LINK             TYPE               OPERATIONAL SETUP
  1 lo               loopback           carrier     unmanaged
  2 ens3             ether              routable    unmanaged
  3 br-container     ether              routable    configured
  4 dummy0           ether              degraded    configured
  5 mv-container-v2  ether              degraded    configured
  6 mv-container-v1  ether              degraded    configured
  7 mv-container     ether              degraded    configured
Integrating the rest of the network interfaces
In a typical OpenStack-Ansible deployment we will have multiple purpose built bridges which will all need macvlan integration. The process to get these bridges and macvlan devices squared away can be taken care of by running an easy script:
#!/usr/bin/env bash
# Create the macvlan network device
cat >/etc/systemd/network/mv-${1}.netdev <<EOF
[NetDev]
Name=mv-${1}
Kind=macvlan

[MACVLAN]
Mode=bridge
EOF

# Create the macvlan network
cat >/etc/systemd/network/mv-${1}.network <<EOF
[Match]
Name=mv-${1}

[Network]
DHCP=no
EOF

# Create the veth network device
cat > /etc/systemd/network/mv-${1}-vs.netdev <<EOF
[NetDev]
Name=mv-${1}-v1
Kind=veth

[Peer]
Name=mv-${1}-v2
EOF

# plugin the first side of the veth-pair
cat > /etc/systemd/network/mv-${1}-v1.network <<EOF
[Match]
Name=mv-${1}-v1

[Network]
Bridge=br-${1}
EOF

# plugin the other side of the veth-pair
cat > /etc/systemd/network/mv-${1}-v2.network <<EOF
[Match]
Name=mv-${1}-v2

[Network]
MACVLAN=mv-${1}
EOF

# Restart systemd-networkd
systemctl restart systemd-networkd.service
This script can be used by simply executing it and passing in the name of the bridge you want to integrate with. I saved the script as a file name mv-int-script.sh on my local system. As root run the following:
for interface in mgmt vlan vxlan storage flat; do
  bash ./mv-int-script.sh "$interface"
done
Verify Configuration
Once you've integrated with all of the bridges on your host machine, check the network list to ensure they're all online. Assuming everything is showing up as configured, you're good to go.
networkctl list
IDX LINK             TYPE               OPERATIONAL SETUP
  1 lo               loopback           carrier     unmanaged
  2 ens3             ether              routable    unmanaged
  3 br-storage       ether              routable    unmanaged
  4 eth12            ether              degraded    unmanaged
  5 br-vlan-veth     ether              carrier     unmanaged
  6 br-vlan          ether              routable    unmanaged
  7 br-vxlan         ether              routable    unmanaged
  8 br-container     ether              routable    configured
  9 dummy0           ether              degraded    configured
 10 mv-vxlan-v2      ether              degraded    configured
 11 mv-vxlan-v1      ether              degraded    configured
 12 mv-vlan-v2       ether              degraded    configured
 13 mv-vlan-v1       ether              degraded    configured
 14 mv-storage-v2    ether              degraded    configured
 15 mv-storage-v1    ether              degraded    configured
 16 mv-mgmt-v2       ether              degraded    configured
 17 mv-mgmt-v1       ether              degraded    configured
 18 mv-storage       ether              degraded    configured
 19 mv-vxlan         ether              degraded    configured
 20 mv-mgmt          ether              degraded    configured
 21 mv-vlan          ether              degraded    configured
 22 mv-container-v2  ether              degraded    configured
 23 mv-container-v1  ether              degraded    configured
 24 mv-container     ether              degraded    configured
 25 br-mgmt          ether              routable    unmanaged
And then verify the network status
networkctl status
●        State: routable
       Address: 10.1.167.190 on ens3
                172.29.244.100 on br-storage
                172.29.248.1 on br-vlan
                172.29.248.100 on br-vlan
                172.29.240.100 on br-vxlan
                10.0.3.2 on br-container
                172.29.236.100 on br-mgmt
                2001:4800:1ae1:18:f816:3eff:fe84:5510 on ens3
                fe80::f816:3eff:fe84:5510 on ens3
                fe80::f058:67ff:fe7d:aa82 on br-storage
                fe80::4c84:b2ff:fef7:1614 on eth12
                fe80::3821:d7ff:fe73:afd3 on br-vlan
                fe80::98ac:97ff:fecf:d91b on br-vxlan
                fe80::d8d9:8ff:fe6a:36a8 on br-container
                fe80::5c34:6cff:fe2f:d45d on dummy0
                fe80::d440:33ff:fea7:3f7d on mv-vxlan-v2
                fe80::fc0e:88ff:fe9a:d149 on mv-vxlan-v1
                fe80::a02e:cdff:fe82:a606 on mv-vlan-v2
                fe80::2891:39ff:feca:f070 on mv-vlan-v1
                fe80::30af:ccff:fe75:fa62 on mv-storage-v2
                fe80::5401:bff:fe9b:b9a0 on mv-storage-v1
                fe80::f08c:c0ff:fe7e:db5f on mv-mgmt-v2
                fe80::d041:f5ff:fee9:2377 on mv-mgmt-v1
                fe80::40b2:a8ff:fed3:a077 on mv-storage
                fe80::d05e:ffff:fe04:ff83 on mv-vxlan
                fe80::894:4aff:fefc:5fdf on mv-mgmt
                fe80::c7:e1ff:fec8:1d77 on mv-vlan
                fe80::7876:ecff:fee4:6819 on mv-container-v2
                fe80::20ed:44ff:feda:97d6 on mv-container-v1
                fe80::d0e2:e2ff:fed3:b283 on mv-container
                fe80::c004:9dff:fe1f:6269 on br-mgmt
                fe80::98dc:1fff:fe8a:d2b6 on brq2c0f1c0f-20
                fe80::f855:d2ff:fe47:9d33 on brq915f42bf-cf
       Gateway: 10.0.0.1 on ens3
                10.0.3.1 on br-container
Assuming all of the interfaces expected are present, have addresses, and are configured everything should be ready to receive container workloads.