Rocket past the white whale and spawn a container


As I'm sure you're aware, Docker is all folks in the IT world can talk about and while Moby(Docker) may be everyone's obsession, there are quite a few of us looking to break away from the oppressive registries and wannabe bash scripts found in the stratosphere. It's time to move further down the stack! This post is all about using the tools built into the system which will allow me to integrate into an existing network and place workloads into a container all without having to bow to Ahab.
Not Magic, Just Linux
Quick Map:
- Getting Started
- Basic Network Setup
- Enable the machines target
- Setup Image Storage
- Managing Images
- Creating Containers
- Getting an application ready
- New Containers in Practice
- The End
Getting Started
The systemd-nspawn utilities packaged with(into) systemd are quite powerful. This quick run down will demonstrate how to setup networkd for container and host connectivity, manage images using machinectl, and create a persistent container. By the end of this article we'll have a Plex container using Ubuntu Xenial(16.04) and everything will start and stop along with the system.
- Login to the server as root.
On Ubuntu you may need to install the package
systemd-container.
- Make sure you have the directory
/etc/systemd/nspawn, if you don't have this directory make it.
mkdir -p /etc/systemd/nspawn
Basic Network Setup
On this node, I have just one network interface and I will be moving everything over to networkd, however, this is an optional step. If you have a better way or an already working way or you want to do something different, you're free to skip these steps.
Start and enable the systemd networkd service
The first thing we do is ensure that Network Manager and the SysV init networking compatibility services are all disabled. We then enable the networkd so that it's managing everything.
systemctl disable network
systemctl disable networking
systemctl disable NetworkManager
systemctl enable systemd-networkd
Check to see that systemd-networkd is running with the following command.
networkctl status lo

● 1: lo
       Link File: /lib/systemd/network/99-default.link
    Network File: n/a
            Type: loopback
           State: carrier (unmanaged)
         Address: 127.0.0.1
                  ::1
move the interface into networkd and create a bridge
This is the base interface for my server, enp3s0.
The interface on the system may be different.
cat > /etc/systemd/network/enp3s0.network <<EOF
[Match]
Name=enp3s0

[Network]
Bridge=br0
IPForward=1
EOF
Create the bridge device.
cat > /etc/systemd/network/br0.netdev <<EOF
[NetDev]
Name=br0
Kind=bridge
EOF
Create the network on the bridge. If you're worried about losing network connectivity, set the [Network] section to that of a static IP address. This will ensure when networkd takes over it doesn't get a new address thereby breaking your connection. See the networkd manual for all available options within the Network Section.
cat > /etc/systemd/network/br0.network <<EOF
[Match]
Name=br0

[Network]
DHCP=ipv4
EOF
Once these files are in place, restart the networkd service. You should be aware that it's quite possible that you'll lose network connectivity on this next step. If you do make sure you have console access to the server before running it.
systemctl restart systemd-networkd
Finally, move the old SysV interface file out of the way
mv /etc/network/interfaces /etc/network/interfaces.bak
Start and enable the systemd resolved service.
These commands will start the systemd-resolved service and link the typical resolv.conf file the systemd version of the file.
systemctl enable systemd-resolved
systemctl start systemd-resolved
ln -sf /run/systemd/resolve/resolv.conf /etc/resolv.conf
Ensure that you still have access to the public internet after the resolver changes.
ping -c3 google.com

PING google.com (172.217.9.14) 56(84) bytes of data.
64 bytes from dfw28s02-in-f14.1e100.net (172.217.9.14): icmp_seq=1 ttl=53 time=31.6 ms
64 bytes from dfw28s02-in-f14.1e100.net (172.217.9.14): icmp_seq=2 ttl=53 time=26.0 ms
64 bytes from dfw28s02-in-f14.1e100.net (172.217.9.14): icmp_seq=3 ttl=53 time=24.3 ms

--- google.com ping statistics ---
3 packets transmitted, 3 received, 0% packet loss, time 2003ms
rtt min/avg/max/mdev = 24.383/27.341/31.623/3.103 ms
Enable the machines target
Enable the "machines" target so all of the containers we create are able to be started at boot via a service call. While the services may be started and enabled, if this target is not added the nspawn containers will not auto-boot.
systemctl enable machines.target
Setup Image Storage
The nspawn system will need a BTRFS volume at the path /var/lib/machines. If you have a volume that will need to be formatted and mounted, follow these next couple of steps. If you're unsure or know there's no extra volume on your system to format and mount, don't worry about it. systemd will do what's needed should the path /var/lib/machines not be a BTRFS volume by creating a raw file at /var/lib/machines.raw. This file will be mounted it as a loopback device and available on boot. In my case I'm going to provision a logical volume, format it BTRFS, and have it automatically mounted.
The first thing to do is create the logical volume. I annotated the command for clarity.
# Command  | Name        | size   | Volume group
lvcreate    -n machines   -L 50G   ${VGNAME}  # Make sure you change this variable to the name of the volume group
Now format it BTRFS.
On Ubuntu you may need to install the package
btrfs-tools.
mkfs.btrfs /dev/${VGNAME}/machines
Once the volume is formatted, create a mount unit file. Do not be modifying fstab, this is all done in systemd.
cat > /lib/systemd/system/var-lib-machines.mount <<EOF
[Unit]
Description=Virtual Machine and Container Storage
ConditionPathExists=/dev/${VGNAME}/machines

[Mount]
What=/dev/${VGNAME}/machines
Where=/var/lib/machines
Type=btrfs
EOF
Reload the systemd deamon and start the mount
systemctl daemon-reload
systemctl start var-lib-machines.mount
This will create the persistent mount where all of your containers will be spawned.
Managing Images
Now that the system is all setup lets pull an image.
machinectl --verify=no pull-tar https://cloud-images.ubuntu.com/xenial/current/xenial-server-cloudimg-amd64-root.tar.gz xenial-base
machinectl is how all image management will be taken care of. Pulling, cloning, removing, exporting images is all taken care of in machinectl. To test everything is working run the systemd-nspawn command using the path of the cached image.
systemd-nspawn --boot --directory=/var/lib/machines/xenial-base --network-bridge=br0
This will spawn a container and connect it to your bridge. If everything is working a new system will seemingly be created and you will be greeted with a login prompt. Because there's nothing setup at the moment I recommend just terminating the container by holding the Ctrl button and pressing the "]" key around 5 times rapidly.
Being that this is our base image and we want to be able to login into the container we're going to chroot into the containers storage directory and set the root password. This is an optional step and only needed for testing.
chroot /var/lib/machines/xenial-base <<EOC
echo -e 'secrete\nsecrete' | passwd root
EOC
This command is not really needed, however, it is helpful when pulling the Ubuntu cloud image which has cloud-init baked in it. We don't need or want cloud-init so it's safe to purge it and it will mean that our containers will spawn instantly instead of waiting 120 seconds for cloud-init to fail.
chroot /var/lib/machines/xenial-base <<EOC
apt-get -y remove --purge  cloud-init*
EOC
Now with the password set if you run the systemd-nspawn command from before and you should be able to login to the container and run some commands.
Once ready set the base image as read-only so no further changes can happen to the it unless we unlock the image and allow them.
machinectl read-only xenial-base true
Check that the image is now read-only by executing the machinectl list-images.
machinectl list-images

NAME        TYPE      RO  USAGE  CREATED                     MODIFIED
xenial-base subvolume yes 568.2M Sun 2017-04-23 15:27:58 CDT n/a

1 images listed.
Creating Containers
Now that we've got everything up and running it's time to spawn our first container. To test that our container system is working and proving networking as expected We'll be creating a plex container which will host the plex app and be available over the larger network.
The first thing to do is clone our base image. We're going to clone xenial-base to a new copy on write container image named, plex.
machinectl clone xenial-base plex
With the plex container rootfs ready let's start the container.
machinectl start plex
Now verify that the container is running.
machinectl status plex
We can login to the container and mess about however before we can do anything meaningful we're going to generate a nspawn configuration file for the container, so stop the container for now machinectl poweroff plex. The following configuration file will enable the container to "boot" into full machine mode, bind mount my media library from /mnt/media to /mnt within the container, and will connect the container using a veth-pair onto br0 allowing me to access to the container on my internal network in an isolated manner.
cat > /etc/systemd/nspawn/plex.nspawn <<EOF
[Exec]
Boot=on

[Files]
Bind=/mnt/media:/mnt

[Network]
VirtualEthernet=yes
Bridge=br0
EOF
Re-start the plex container with the following command machinectl start plex, and then check it's status. If everything is right, the container will come up connected to the br0 bridge.
Lastly, we enable the container to start at boot by simply invoking the systemctl command just like we would with any other service.
systemctl enable systemd-nspawn@plex
Getting an application ready
Getting access to your nspawn containers is a choose your own adventure. For my purposes, I'm covering regular shell and ssh access.
Shell Access.
If you want to run shell commands within the running machine container you can execute the following shell command.
machinectl shell root@plex -- /bin/bash
SSH Access.
If you want to have access to the container using ssh you can do so by running the following shell command.
machinectl shell root@plex -- /bin/bash -c "dpkg-reconfigure openssh-server"
This will attach to the plex container and create host keys on the box which is required to get ssh functional.
If you want ssh access to the container you will need to send over an ssh public key. Here I generate a key pair in the container and then append the local system key into the container.
export KEY=$(cat ~/.ssh/id_rsa.pub)
machinectl shell root@plex -- /bin/bash -c "ssh-keygen -f /root/.ssh/id_rsa -t rsa -N ''"
machinectl shell root@plex -- /bin/bash -c "echo ${KEY} | tee -a /root/.ssh/authorized_keys"
Installing an application
Because this container is a "Machine" container, access to the container can be done in any way that suits you and the needs of the application. This could be ansible, chef, some other automation thing-a-me, or simply by hand, it's all up to you. Here I'm just following the upstream guide for plex installations and upgrades because there's not much to it.
Login to the container.
machinectl shell root@plex -- /bin/bash
```
Then install plex.
``` shell
echo plex > /etc/hostname
echo deb https://downloads.plex.tv/repo/deb/ public main | sudo tee /etc/apt/sources.list.d/plexmediaserver.list
curl https://downloads.plex.tv/plex-keys/PlexSign.key | sudo apt-key add -
apt-get update
apt-get install -y plexmediaserver
```
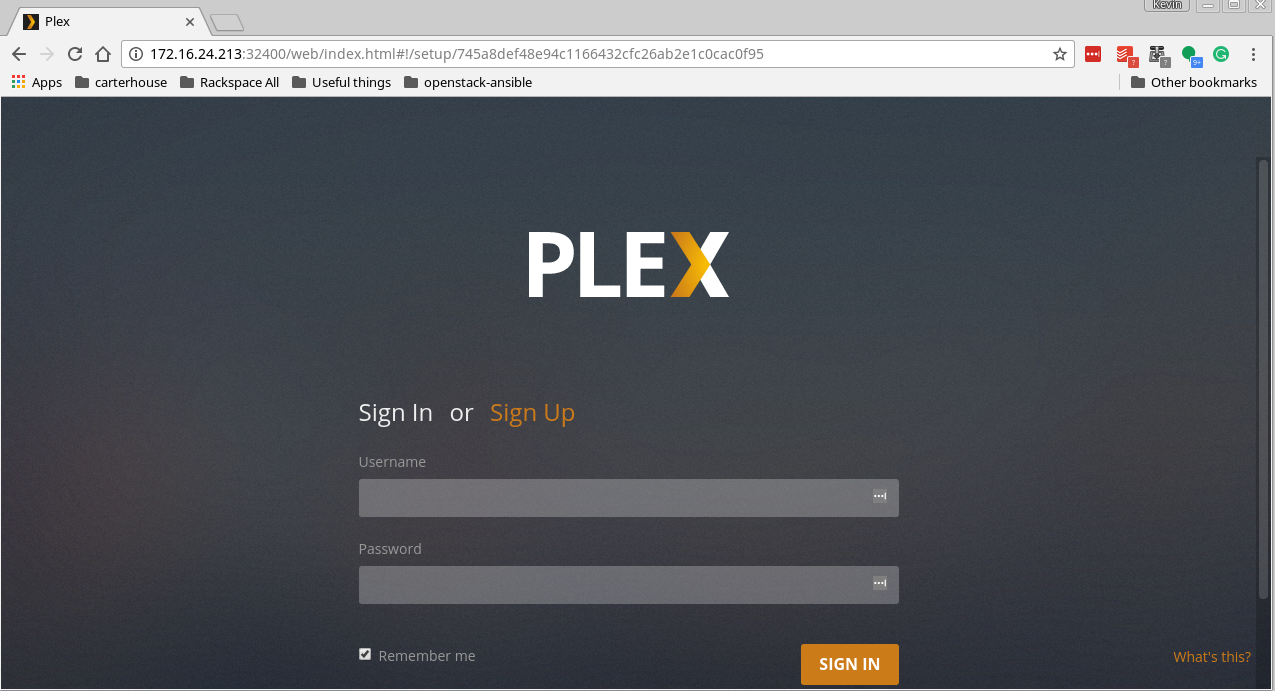
Once the plex is installed, navigate to the web interface and begin enjoying it.
``` shell
ip route get 1
1.0.0.0 via 172.16.24.2 dev br0 src 172.16.24.211
cache
```
----
#### New Containers in Practice
Now that we have a working system and we have nspawn working as we'd expect, let's see what it would actually take to spawn a new container for all future workloads.
* Create a rootfs for the container. ``machinectl clone xenial-base new-container``
* Generate a unit file for the new container config.
``` shell
cat > /etc/systemd/nspawn/new-container.nspawn <<EOF
[Exec]
Boot=on
[Network]
VirtualEthernet=yes
Bridge=br0
EOF
```
* Reload the systemd daemon. ``systemctl daemon-reload``
* Ensure the container is started at system boot (optional) ``systemctl enable systemd-nspawn@new-container``
* Start the new container. ``machinectl start new-container``
* Profit.
----
#### TTFN
So with this setup, you'll be able to get just about anything you need with containers directly out of the box, all without any additional dependencies. The container runtime is fast, there are no abstractions sitting in the way impeding something that you may want to do, and the ability to configure the system is nearly endless.
I'd invite you to have a look at everything that's possible within nspawn, networkd, resolved, machinectl and systemd by pursuing the manuals.
* [networkd](https://www.freedesktop.org/software/systemd/man/systemd.network.html)
* [resolved](https://www.freedesktop.org/software/systemd/man/systemd-resolved.service.html)
* [machinectl](https://www.freedesktop.org/software/systemd/man/machinectl.html)
* [nspawn](https://www.freedesktop.org/software/systemd/man/systemd-nspawn.html)
* [systemd](https://www.freedesktop.org/wiki/Software/systemd/)
Happy hacking.